SwiftUI Quick Start Guide
The Parra quick start guide is intended for those who are starting a new iOS project and wish to use Parra. This guide will walk you through installing our CLI tool and using it to generate a your new project.
Install the CLI
Before you can generate your new project, you'll need to install the Parra CLI if you haven't already. You can find more in-depth instructions in the CLI installation guide, or if you have Homebrew, install Parra with the following command:
brew install parra-inc/tap/parra-cli
Bootstrap your Project
Once the CLI is installed, you can use the bootstrap command to generate your new starter project. If you'd like to read more about the options that are available for this command, you can read about them here.
parra bootstrap
When you run the bootstrap command, you will be asked to install missing dependencies (like Xcode) and a series of questions about the project. For example:
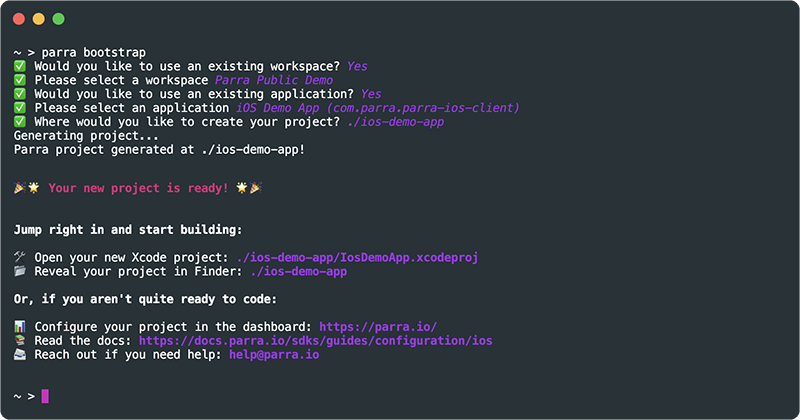
Once this process is completed, your Xcode project will be created and Xcode will be launched. You are immediately able to select a simulator as a run destination and launch the app. If you'd like to use a real device, you need to make sure that you have configured your development team in Xcode.
Start Building
Your project has been generated and you're ready to start work on your new app!
You can dive right in to app specific code, or learn more about what you can do with Parra by checking out any of the following guides: